
After tackling my first overnight backpacking trip to the Grand Canyon in 2010, I had the bug! I wanted to do more, so I read all kinds of articles about possible trails.
One trip that rose to the top of the list was Yosemite National Park because of the pictures I’d seen and its connection to John Muir, a pioneer of the national parks. When I asked my brother-in-law, Mike, who had accompanied me to the Grand Canyon, he agreed it could be an epic trip and invited his friend Jim to join us.
Planning Our Yosemite Backpacking Trip
The first step was to read more about the park’s backpacking trails and what we needed to do to prepare. As Yosemite is one of the busiest national parks, we wanted to avoid the big crowds. We focused on going in the fall, my favorite backpacking season, after Labor Day. More specifically, we considered late September or early October, knowing that changing weather and possible snow could affect our plans.
One of the keys with many parks and trails when backpacking is securing permits. A wilderness permit is required for any overnight stay in the Yosemite wilderness. The number of people allowed to begin at each trailhead is limited to help protect the wilderness and provide opportunities for solitude. Demand varies by season and the trails you plan to use.
For current trip planning, Yosemite releases 60% of wilderness permit reservations through a lottery 24 weeks in advance. The remaining 40% become available on Recreation.gov seven days before the starting date. An application processing fee applies, plus an additional per-person fee if your reservation is successful. Popular trailheads can fill quickly, so review the National Park Service’s wilderness permit reservation instructions before applying rather than relying on a permit being available when you arrive.
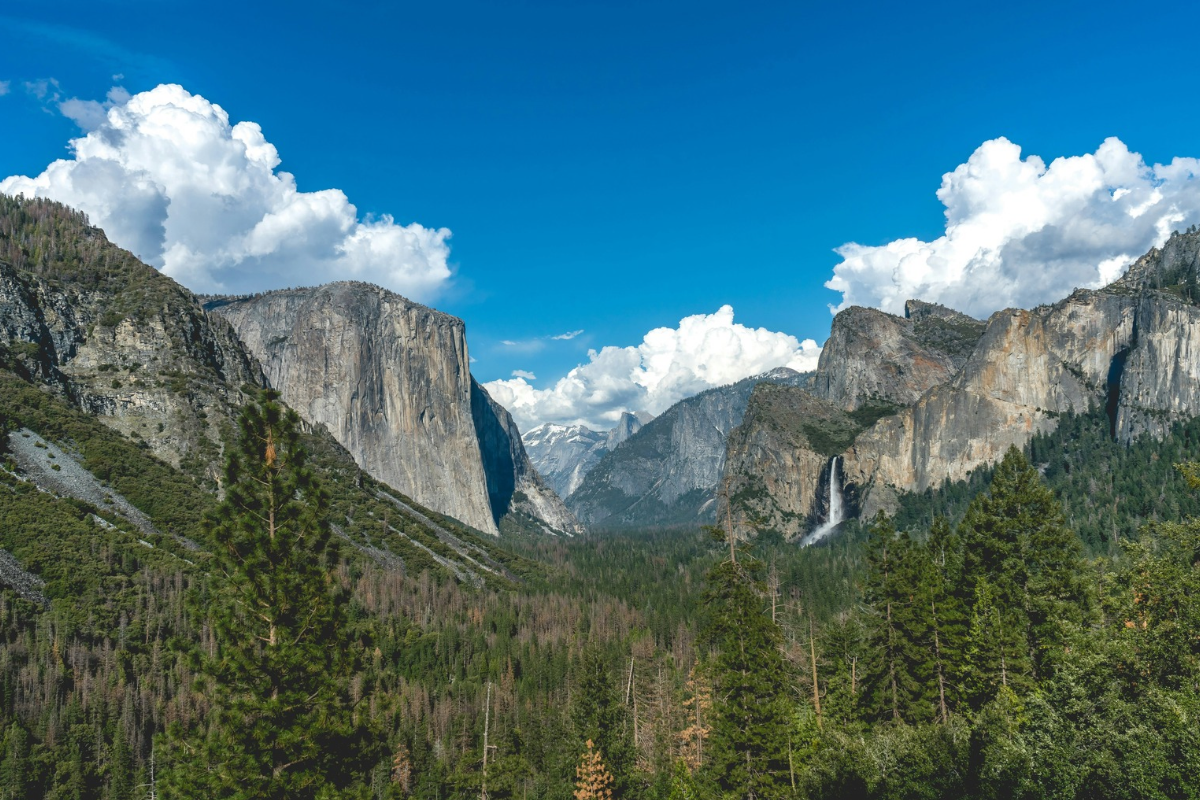
Our first decision was where we wanted to hike. I purchased a National Geographic map of Yosemite through Amazon so I could see the trail and campsite options. I knew I wanted to hike Half Dome using the cables, so this narrowed down the options. We decided to start in Yosemite Valley, which, in my opinion, is the park’s most iconic area!
Half Dome requires an additional permit when the cables are up. Backpackers entering from certain eligible trailheads can request Half Dome permits when picking up their wilderness permit. Check the National Park Service’s Half Dome permit guidance for backpackers to confirm whether your itinerary qualifies. Other information to have ready for your wilderness permit application includes:
- Hike Start Date
- 1st Night’s Camp Location
- Group Size
- Trip Leader Contact Information
- Hike End Date
- Ending Trailhead
We decided on four days of backpacking, with a Half Dome hike on day two, ending where we began because that was where we would park. This enabled us to travel to the park, backpack, and return home within a week, so we only had to take one week off work.
I was somewhat surprised to secure the permit I applied for, which set the rest of the travel details in motion. I could now reserve my plane tickets and rental car! We considered San Francisco and Sacramento, along with other airports that would have required a connecting flight. We decided to fly into Sacramento.
Arriving in Yosemite
All our travel plans went as expected, which is always nice! I had never been to California before, and the drive to Yosemite was spectacular. There are many places to stop along the way, but we focused on backpacking, so we didn’t stop.
Before starting our backpacking trip, we attended a wilderness education session with a park ranger. We needed to reach the ranger station by 4 p.m. The session lasted about an hour, and it was getting dark by the time we finished. Finding the backpackers campground in the fading light was a little tricky, but we got our tents up and dinner cooked before it got too late.
Gear-wise, the only out-of-the-ordinary item on this trip was a bear canister, which is required for overnight backpacking in the Yosemite wilderness. We rented ours at the ranger station. Make sure your pack is big enough to fit the canister and leave enough room.
Some people don’t understand why you need a bear canister, but we are in the bears’ backyard. Keeping human food away from bears helps protect them and other visitors. Your canister needs to hold food, trash, toiletries, and other scented items. Before your trip, review Yosemite’s bear canister and food storage guidance, including the allowed containers and how to use them.
Day One: Yosemite Valley to Vernal and Nevada Falls
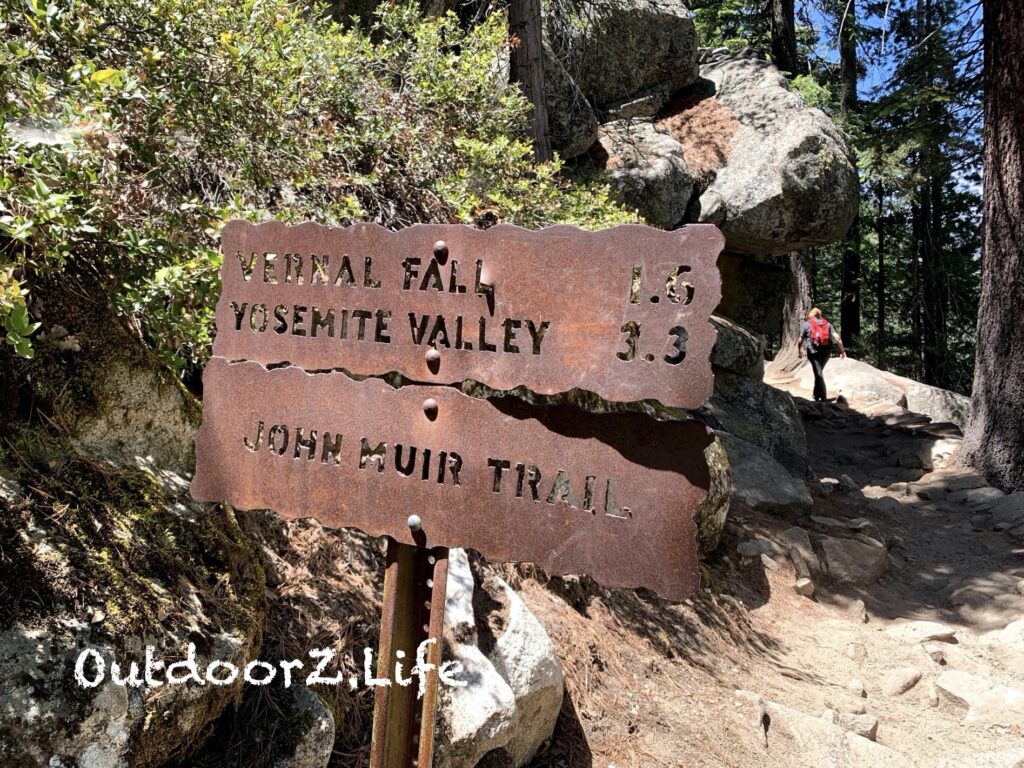
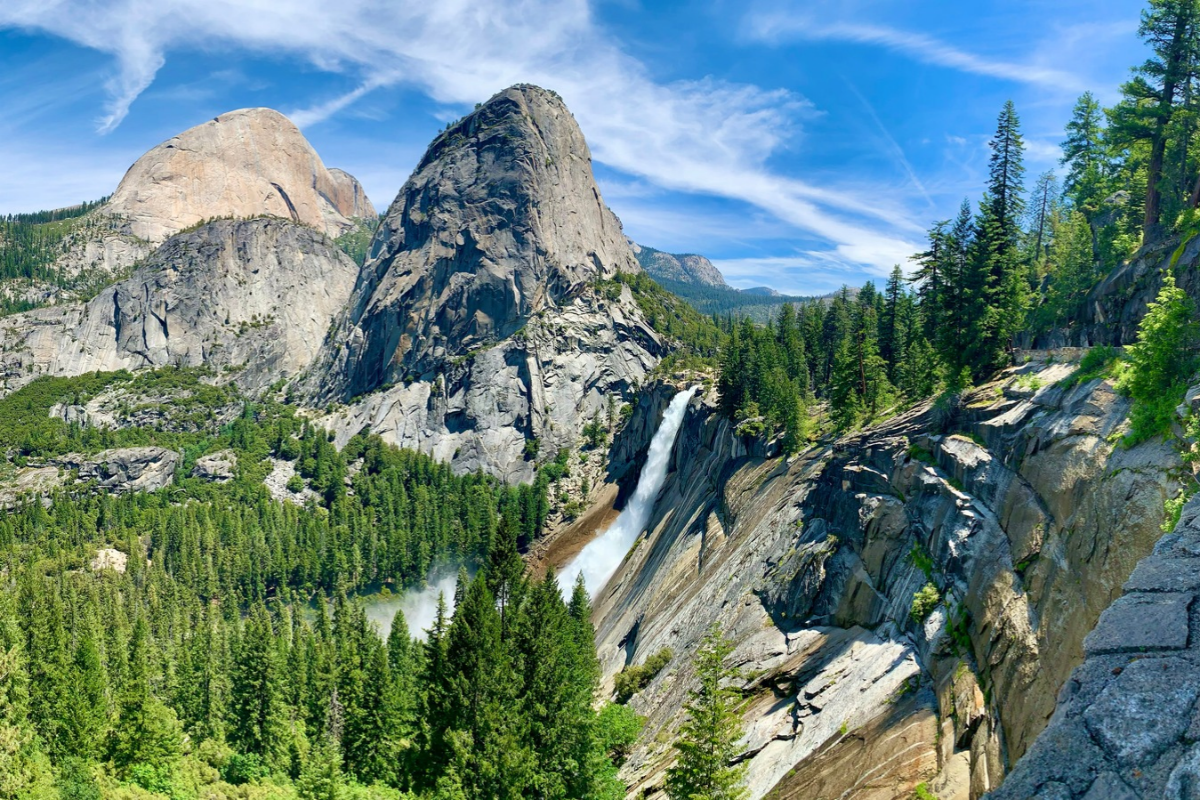
The first day was a bit over seven miles and included 3,000 feet of elevation gain. The most spectacular part of the day, aside from being in the incredible Yosemite Valley in the morning, was hiking along Vernal and Nevada Falls on the John Muir Trail.
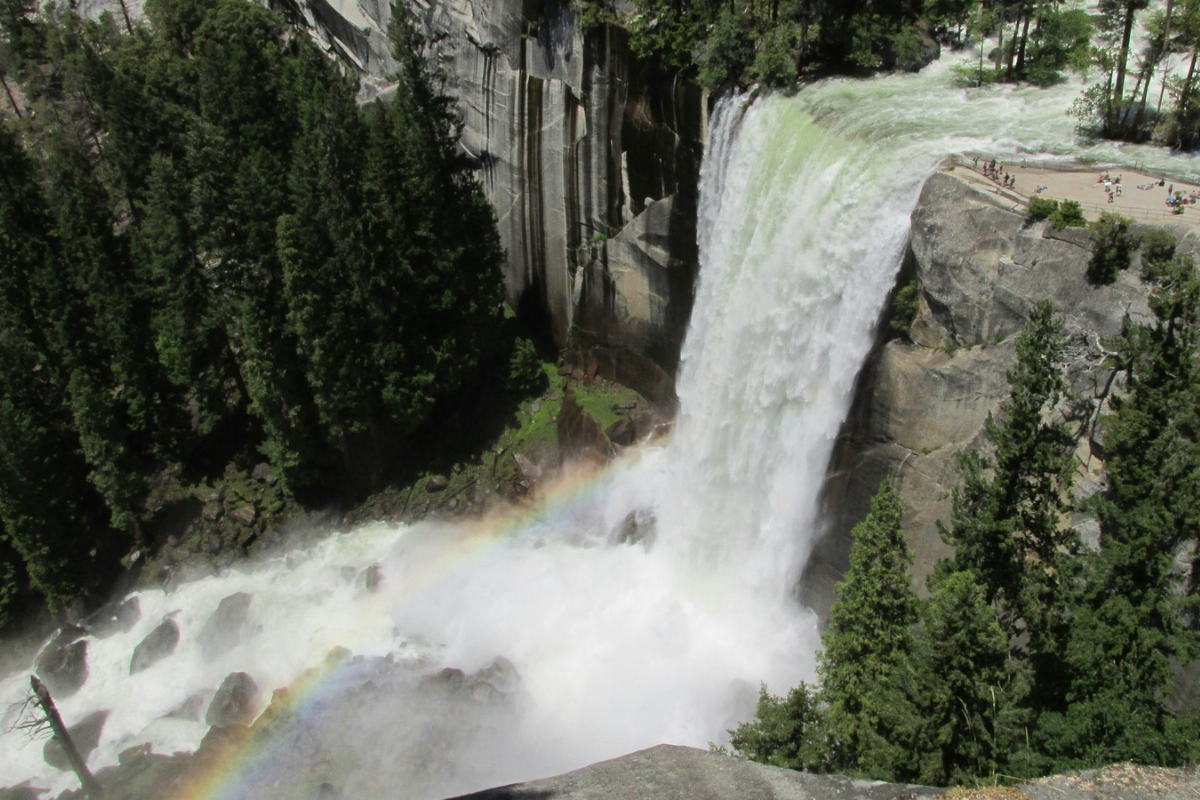
The trail was very steep in some sections but well defined. With the falls flowing and the wind blowing in the right direction, mist could provide a welcome cooling effect. This popular stretch can get crowded, so I recommend starting early. We ended the day at a campsite about a mile beyond the falls.
For another perspective on this part of Yosemite, read OutdoorZ.Life’s day hike to Vernal and Nevada Falls via the Mist Trail and John Muir Trail, with photos and an account of climbing beside the waterfalls and returning along the John Muir Trail.
Day Two: Hiking Half Dome
Day two started with a 2.5-mile hike from our camp to the top of Half Dome, one of the most iconic destinations in the US national parks.
This is a tough hike if you tackle it as a day trip from Yosemite Valley. The National Park Service lists that outing as 14 to 16 miles roundtrip, with 4,800 feet of elevation gain. Those figures describe the full-day hike, not our shorter approach from camp. Be prepared for a strenuous outing, carry enough water and food, and bring a headlamp with extra batteries.
During our visit, a ranger checked permits before hikers continued toward the cables. Make sure you have the required permit, and review the National Park Service’s Half Dome hiking guidance before planning your own ascent.
The final part of the Half Dome hike follows cables up the last 400 feet to the summit. It is a strenuous and exposed climb. Some hikers start but don’t finish, and for others, fear sets in on the descent. Patience matters when people ahead need more time.
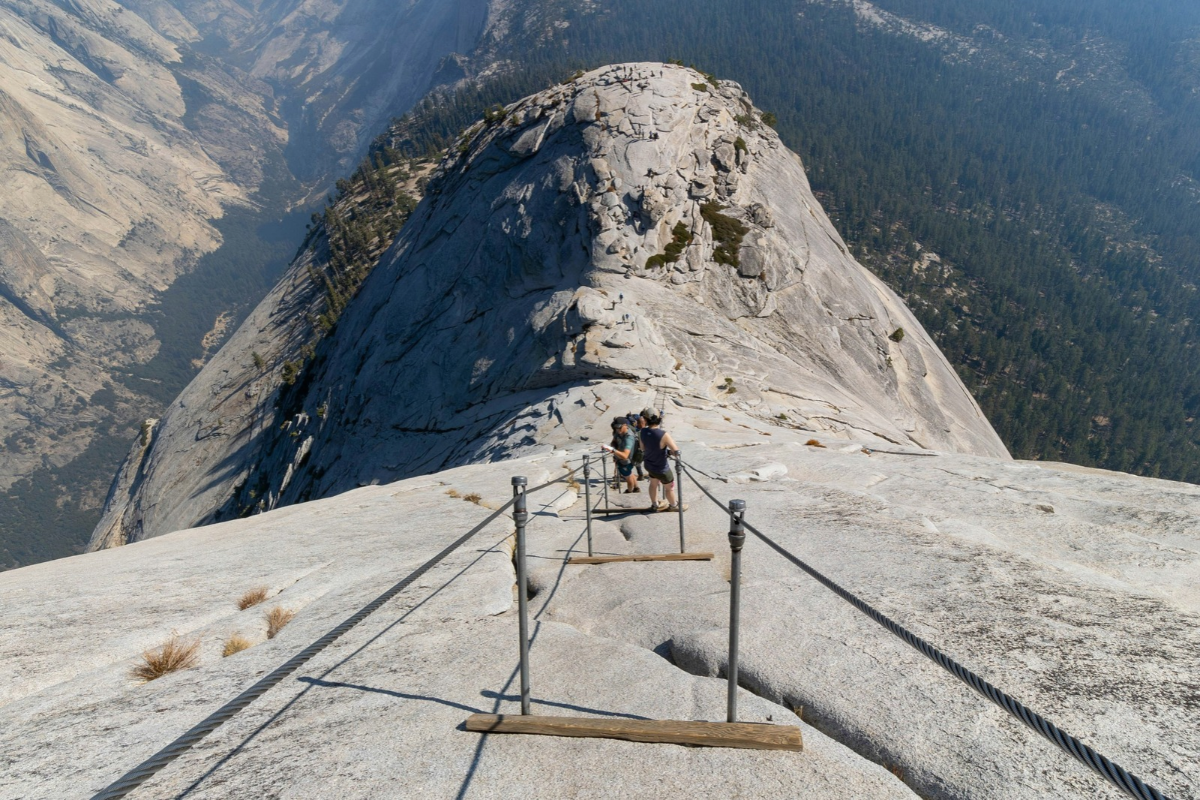
During our visit, I found gloves and a harness at the base of the cables and used them for the climb. On the way down, I encountered a woman clinging to a support pole, too afraid to move. I offered her the harness, which helped her continue descending.
That describes my experience, rather than equipment advice. Bring your own sturdy gloves and pack them out afterward. Don’t rely on equipment left by other hikers or assume a harness makes the climb safe. Stay inside the cables, take your time, and do not attempt the ascent when the rock is wet, storm clouds are nearby, or the cables are down. Review the National Park Service’s Half Dome cable guidance before your trip.
The view from the top of Half Dome is incredible! But lightning is a serious danger on the exposed summit and cables. Thunderstorms are more common in the afternoon, although they can occur at any time. Check the forecast before you set out, and don’t continue toward the summit if storm clouds are nearby. If a storm develops while you are on top, leave the summit area and descend the cables and steps carefully.
After finishing the Half Dome hike, we returned to camp, had lunch, and hiked more of the John Muir Trail before heading toward Merced Lake. We camped near a river, swam, and then lay on the warm granite to dry off.
Day Three: Merced Lake and Little Yosemite Valley
On the morning of day three, we hiked 1.5 miles to Merced Lake and walked around the High Sierra Camp. The season was over, so no one was there.
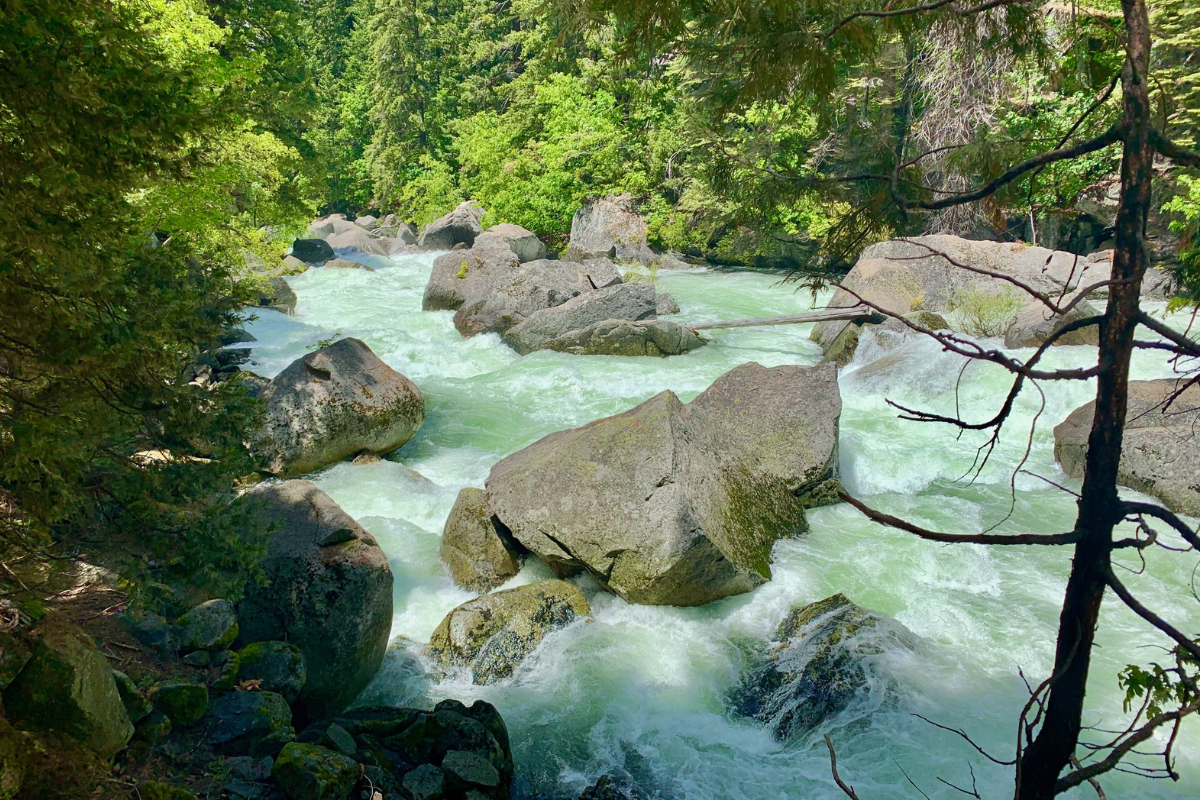
We then hiked about eight miles back along the Merced River to the Little Yosemite Valley backpackers campground, where we saw other campers and used a toilet for the first time since day one!
Day Four: Returning to Yosemite Valley
The next day, we hiked four miles back to Yosemite Valley, taking the Mist Trail along the waterfalls. The steep stone steps and larger crowd made this stretch feel different from our quieter backcountry time.
We completed a 33-mile loop over four days, a manageable itinerary for our group. However, hiking on granite for much of the trip was tough on our feet. Taking off our hiking boots or trail runners during breaks gave our feet a welcome rest.
Backpacking Trip Overview
- Location: Yosemite National Park, California
- Trip length: Four days
- Reported total distance: Approximately 33 miles
- Starting and ending area: Yosemite Valley
- Highlights: Vernal Fall, Nevada Fall, Half Dome, the John Muir Trail, and Merced Lake
- First day: A little over seven miles with approximately 3,000 feet of elevation gain
- Terrain: Steep climbs, extensive granite surfaces, stone steps, and the exposed Half Dome cables
- Season of this trip: October
- Permits: A wilderness permit for overnight travel, plus the required Half Dome authorization for the cable ascent
- Food storage: An allowed bear canister, with space for food, trash, toiletries, and other scented items
These distances describe Richard’s reported itinerary. Confirm your own route, campsite locations, permit requirements, and current conditions before planning a similar trip.
Planning Your Own Yosemite Backpacking Trip
Richard’s account describes his trip, and conditions and requirements may differ when you visit. Check Yosemite’s current wilderness conditions before choosing your dates and route, including seasonal access and the status of the Half Dome cables.
Choose established campsites that meet Yosemite’s location restrictions. Generally, camps must be at least 100 feet from water sources and trails, with additional restrictions around Little Yosemite Valley and the High Sierra Camps. Review the official wilderness regulations when planning each overnight stop.
Treat water collected from rivers and lakes before drinking it. Keep soap, including biodegradable soap, out of natural water sources, and wash at least 100 feet away. Stay out of water above waterfalls, where currents and slippery rocks can be fatal.
Looking Back on Our Yosemite Backpacking Trip
The weather was perfect throughout our trip. We didn’t see any bears, but we saw plenty of other wildlife, including deer, squirrels, lizards, and snakes. After returning our bear canisters at the ranger station, we stopped to take in El Capitan, another incredible park sight and a popular destination for climbers.
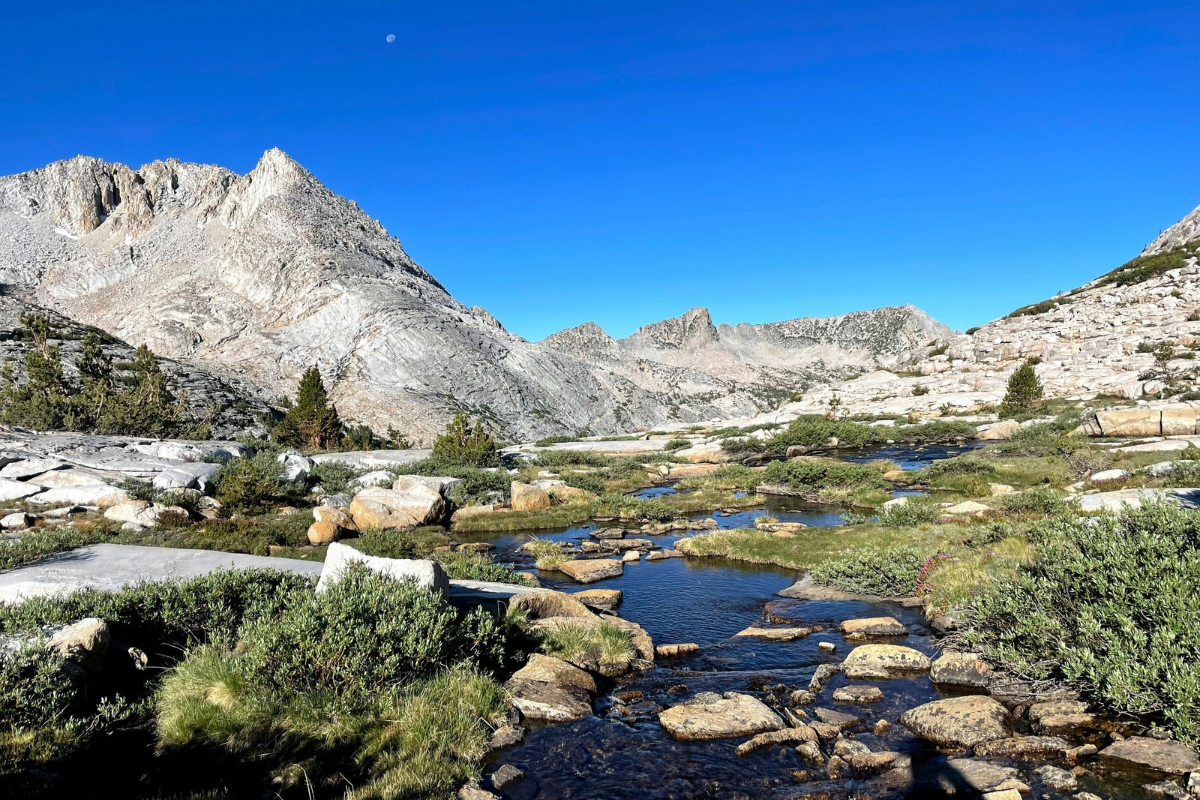
Yosemite is a huge park with many different habitats and trails. Yosemite Valley was the busiest part of our visit, while our time farther into the backcountry was quieter.
I definitely want to return and explore more, but I also have so many other national parks I want to visit. I’m afraid a return trip will have to wait a few years!
For more Yosemite experiences and planning ideas, explore our Yosemite Guide, including scenic viewpoints, waterfall hikes, and walks among giant sequoias. Our Hiking Guide offers preparation ideas for your next outing, while our National Parks Guide brings together more destinations and firsthand park stories.
Adventure Never Gets Old™